iOS Tutorial • 7 min read • Updated September 6, 2026
How to Do Slow Mo on Insta: A Complete Guide to Reels Slow-Mo
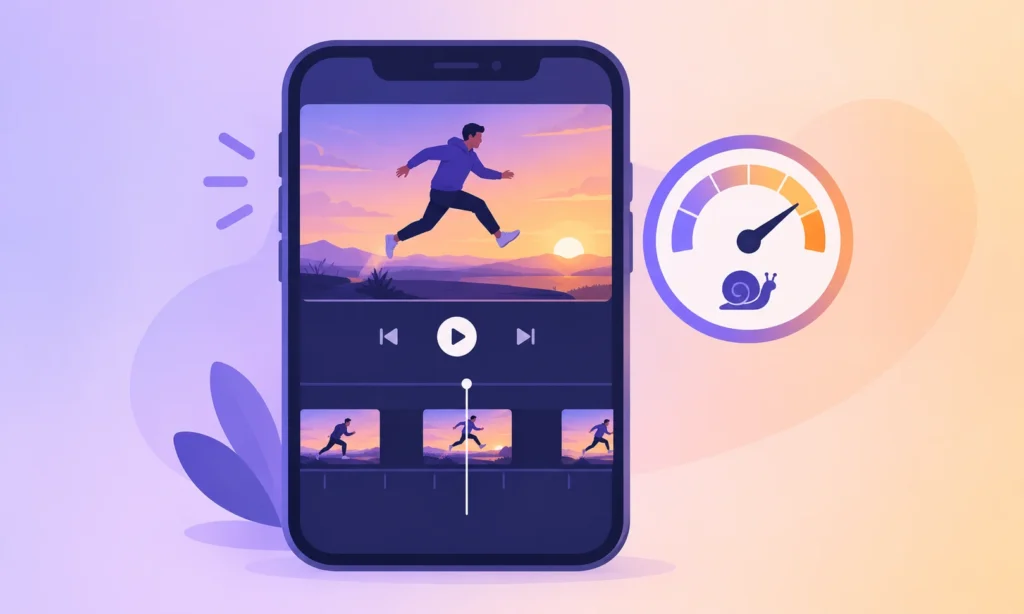
Anyone who has scrolled through Reels has stopped on a clip where a splash, a jump, or a hair flip suddenly stretches out in dramatic detail. That’s slow motion doing its job, and figuring out how to do slow-mo on Insta is a lot simpler than it looks once the right tool is in front of a person. This guide walks through exactly where that control lives, how to use it while filming or after the fact, and a few extra tricks for a more polished result.
What “Slow Motion” Actually Means
Slow motion is a filmmaking technique where footage plays back slower than it was recorded, which stretches out movement and makes small details easier to notice. It’s traditionally achieved by capturing more frames per second than the standard playback rate, so when that extra footage is played at a regular pace, the action appears slowed down. Speed itself, in this context, simply refers to how fast a video plays back relative to how it was originally filmed — and that one variable is really the whole trick behind every slow-motion effect and fast-forward effect alike.
Instagram doesn’t need a person to understand frame rates to get this effect, though. The app has its own built-in speed feature that handles the technical part automatically.
Where to Find the Slow-Mo Control in Reels
Inside the Reels camera, there’s a menu of icons running down one side of the screen, and one of them controls playback pace. Tapping it reveals a row of presets, typically ranging from 0.3x on the slow end up to 2x, 3x, or higher for fast motion, with 1x sitting in the middle as regular pace. Choosing 0.3x or 0.5x is what creates a slow-mo clip; choosing anything above 1x accelerates a regular-speed clip instead.

This control works whether someone is about to record a brand-new clip or wants to bring in existing footage from their camera roll, since the same menu appears in both the Reels camera and the Reels editor.
Step-by-Step: Recording a Slow-Mo Clip From Scratch
- Open Instagram and tap the create button, then select Reel.
- Look for the pace icon on the left side of the screen — it’s usually labeled “1x” by default.
- Tap it and choose a slower preset, such as 0.3x or 0.5x, to adjust speed down to a reduced speed before filming.
- Press and hold the record button (or tap once, depending on settings) to capture the clip at that slow-motion video setting.
- Preview the result, and if it isn’t quite right, dial the pace back again or re-record.
Because the pace is fixed before recording rather than after, this approach tends to give the smoothest, most natural-looking slow-mo effect, since there’s no stretching of already-recorded frames involved.
Applying a Slow-Down Effect to a Video You Already Filmed
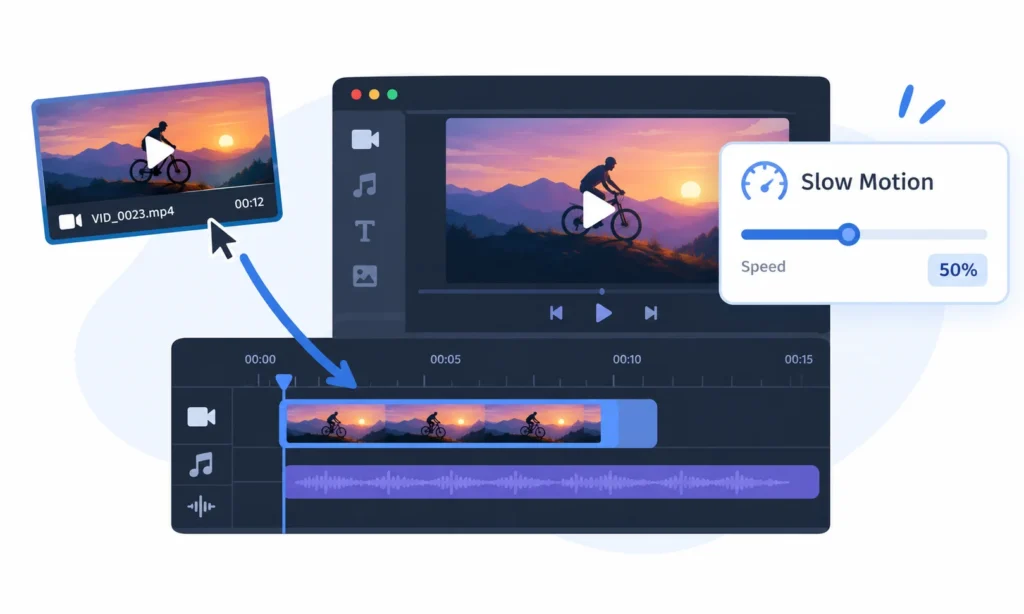
Not every great slow-mo moment gets planned in advance. For clips already sitting in a camera roll, Instagram still allows a slow-down effect to be applied after the fact:
- Start a new Reel and tap the gallery icon to upload an existing video.
- Open the editing tools and look for the same control used while recording.
- Select a slower option to apply the slow-motion effect across the whole clip, or trim the video into sections first to apply it at different speeds to specific parts only.
- Preview before sharing, since this method works by stretching existing frames rather than recording extra ones, so very fast original footage may look slightly less smooth than a clip filmed in slow motion from the start.
This is also where the slow-mo effect stretches the footage most noticeably — a two-second clip recorded at 0.3x can fill six or more seconds of playback, which is exactly why trimming first tends to give cleaner results.
Slow Motion in Stories and Boomerang Mode
Instagram’s Boomerang format, found in the Stories camera, has its own separate way of producing slowed-down movement. After recording a Boomerang loop, tapping the effects menu brings up a dedicated slow motion option that halves the pace of the looping clip. It’s a quicker route to slow-motion captures for short, repetitive motion — a wave, a spin, a pet shaking off water — though it offers less control than the full Reels menu.
Leveling Up With Third-Party Slow-Mo Tools
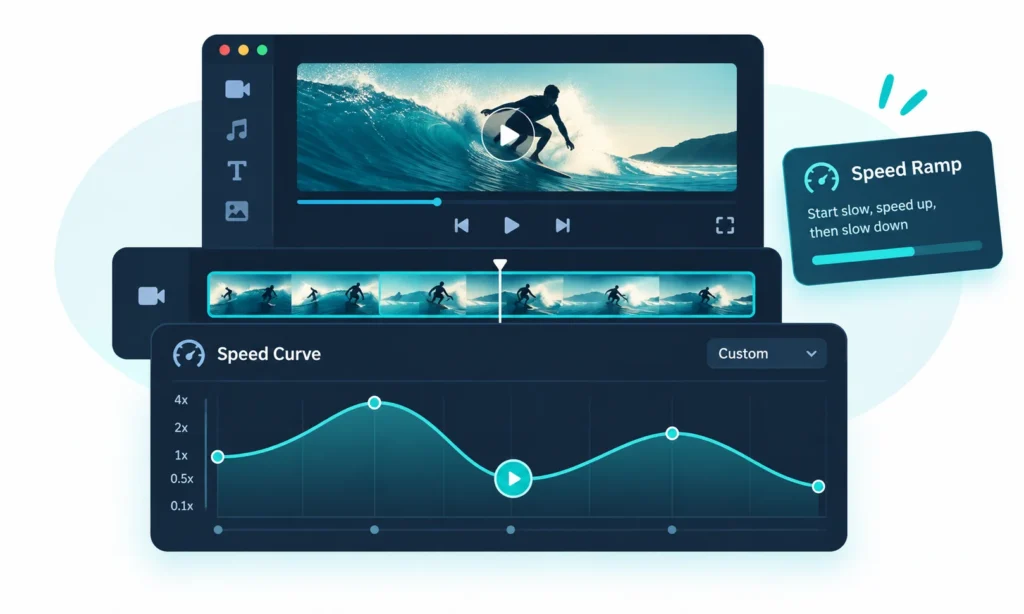
Instagram’s native presets cover most everyday needs, but they max out at a fixed set of options. For anyone chasing a high-quality slow-motion Reels result with finer control — like a gradual ramp from fast-paced clips into a slowed-down moment rather than a hard cut in pace — third-party editing apps fill that gap. CapCut, for example, includes a dedicated curve speed tool feature (its “Speed > Curve” panel) that lets editors plot how the pace should rise and fall across a single clip, plus a “Smooth slow-mo” option that uses frame interpolation to keep motion looking natural even at a very low pace, rather than choppy. Once exported, that edited file can simply be uploaded into Reels like any other video.
Common Slow-Mo Mistakes to Avoid
A few habits separate a smooth slow-mo clip from a shaky one:
- Skipping a steady shot. Slow motion exaggerates camera shake, so handheld footage benefits from bracing an arm or using a small tripod before recording.
- Ignoring lighting. Because some slow motion presets effectively use more frames to cover the same moment, footage shot in dim light can look grainier once slowed down.
- Overusing the effect. A reel made entirely of slow motion effects back-to-back can feel sluggish; mixing a slowed segment with regular or faster pacing usually keeps a video more watchable.
- Forgetting the audio. Music added after recording plays at its normal tempo regardless of the video’s playback setting, so it’s worth previewing how a track lines up with a slowed section before sharing. For anyone building a Reel around a specific song, grabbing a clean copy of the track first — through a tool like InstaSongDownload — makes it easier to line the beat up with a slow-mo moment during editing rather than fighting with a clipped preview. Once that audio clip is saved, some people take it a step further and turn it into a custom iPhone ringtone — here’s how that process works.
Quick Recap
Getting comfortable with slow-motion reels really just comes down to knowing where Instagram hides its pace controls and choosing the right moment for the two slower presets. Whether the goal is a single dramatic slow-mo reel, a set of slow-mo highlights stitched together, or a whole feed built around slow-motion videos, the same basic tool covers nearly every case — record or upload a clip, open the menu, and pick a setting slower than 1x. For more advanced slow-motion videos with ramping or interpolation, a third-party editor is the next step up; for everything else, Instagram’s own camera already has it covered.
On a similar note, if you’ve ever wondered why certain accounts keep popping up in your suggestions, this breakdown of Instagram’s suggestion system covers exactly how that works.
Sources
- Wikipedia — Slow Motion
- Filmora (Wondershare) — How to Make Slow Motion Videos on Instagram Reels
- Filmora (Wondershare) — Guide on Slow-Mo Instagram Reels
- TinyGrab — How to Slow Down an Instagram Reel?
- EaseUS — How to Slow Down a Video on Instagram
- Sage Datum — Instagram Reels Pace Control Tutorial
- CapCut — Curve Effects for Smoother Video Ramps